What is Motion Graphics?
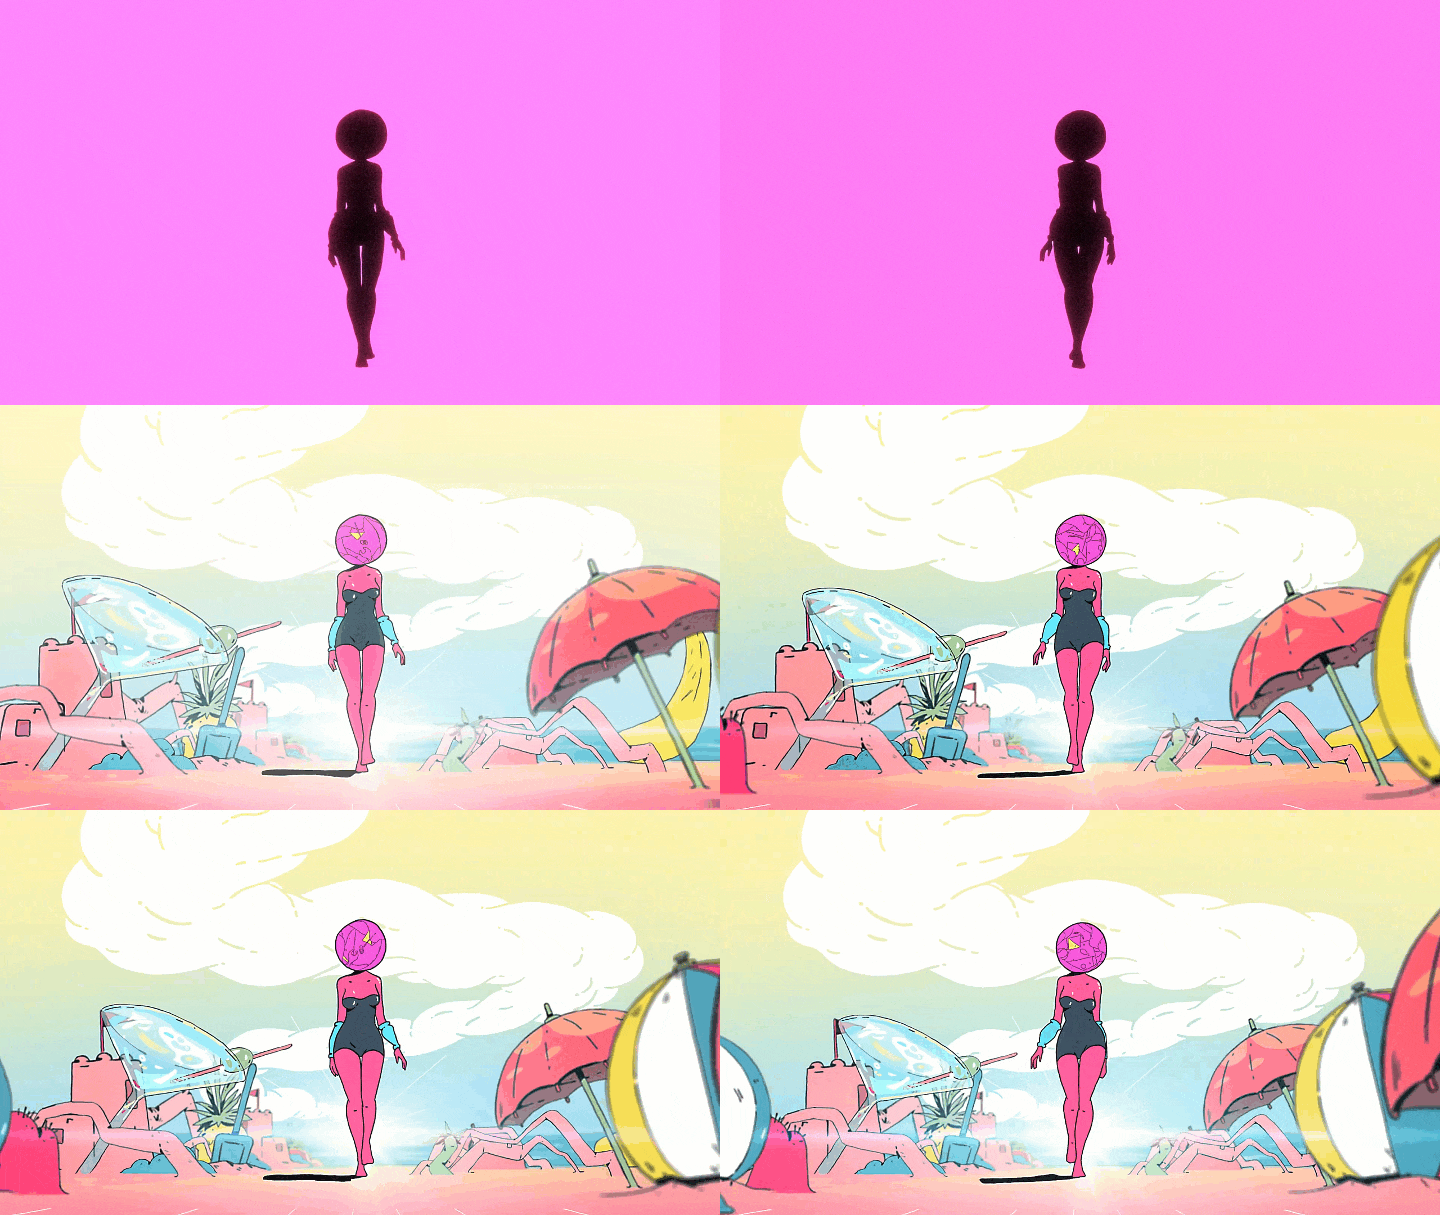
Motion graphics is animation, but with text as a major component. Essentially, it’s animated graphic design.
Ever since motion graphics first entered the scene, there’s been a debate about the line between them and full animation. The opening credits of Hitchcock’s Psycho is an early example of motion graphics, where the marriage of sound, motion, and graphic design come together exceptionally well.
Motion graphics are a way to communicate with the viewer and add depth to the story. Together with music and effective copy, they can give us a message. We use them to create ads, title sequences for movies, [explainer](Put simply, motion graphics are animation, with text as a major component.) videos, and to share information.
An amazing motion graphic includes several steps.
If you want to have amazing motion graphics, you have to follow all the steps.
Motion Graphics Examples
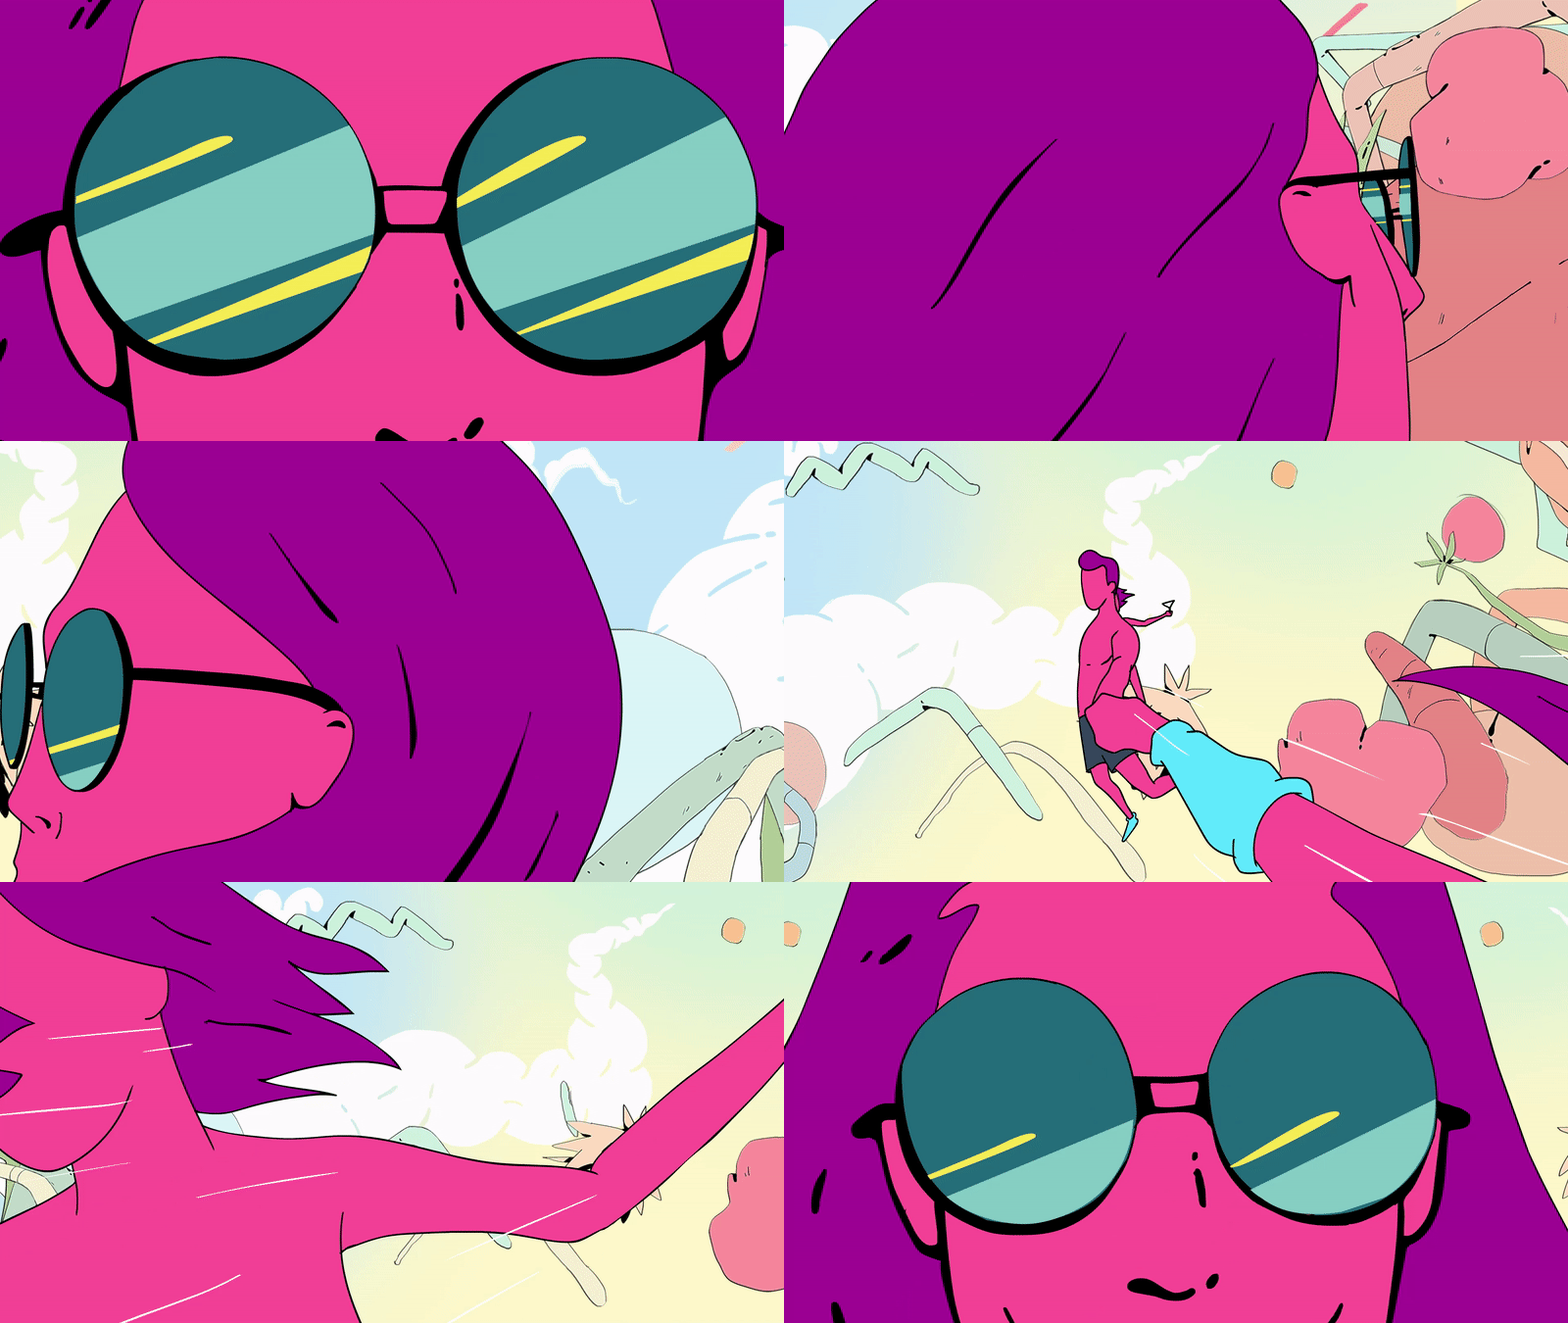


How to make Motion Graphics?
Over the past few years, animation experts have come up with new ways to promote brands, describe products, services, and topics.
Given that video is one of the most effective ways of transmitting information, animated drawings are a priority on the list of organizations to attract more customers and to please investors and sponsors.
Currently, Adobe After Effects is the primary tool for creating animated motion graphics
As the owner of a company or in the position of marketing and branding manager, you know your product better than anyone else and you know who your product is for. You know the problems that your customers are struggling with and you have a solution for it.
Step 1: Write a Script That Tells a Story
A motion graphic does not start with a storyboard. It starts with a story, distilled into a script. Even though motion graphics are short, usually ranging from 30 seconds to 3 minutes, you still need a script to detail either dialogue or story direction.
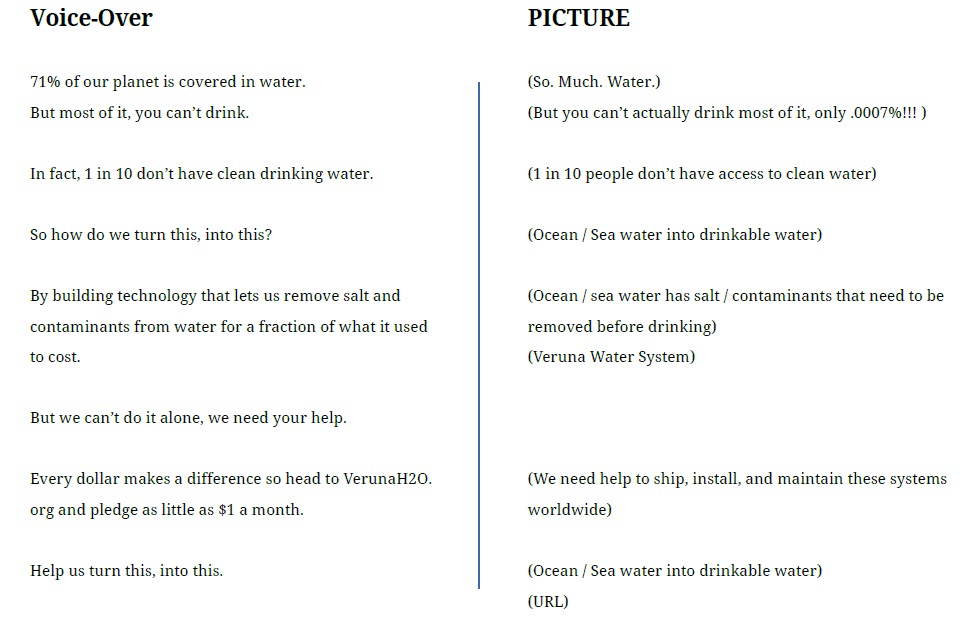
Think about the message you want to convey to your customers, and on an A4 page, write down your suggested voice-over, and on the right, write down the picture you want to show in the video.
This step is very important. Motion graphics are short, each lasting 30 seconds or maximum 3 minute. That means you have limited time. Remember that simplicity and transparency are two important points at this stage. To prepare your story, ask yourself these questions:
1- Who is this video for?
2- What do I want them to learn? Remember? Do?
3- What do you want to see in the video?
4- What’s the tone?
5- How should the viewer feel?
6- What’s the message?
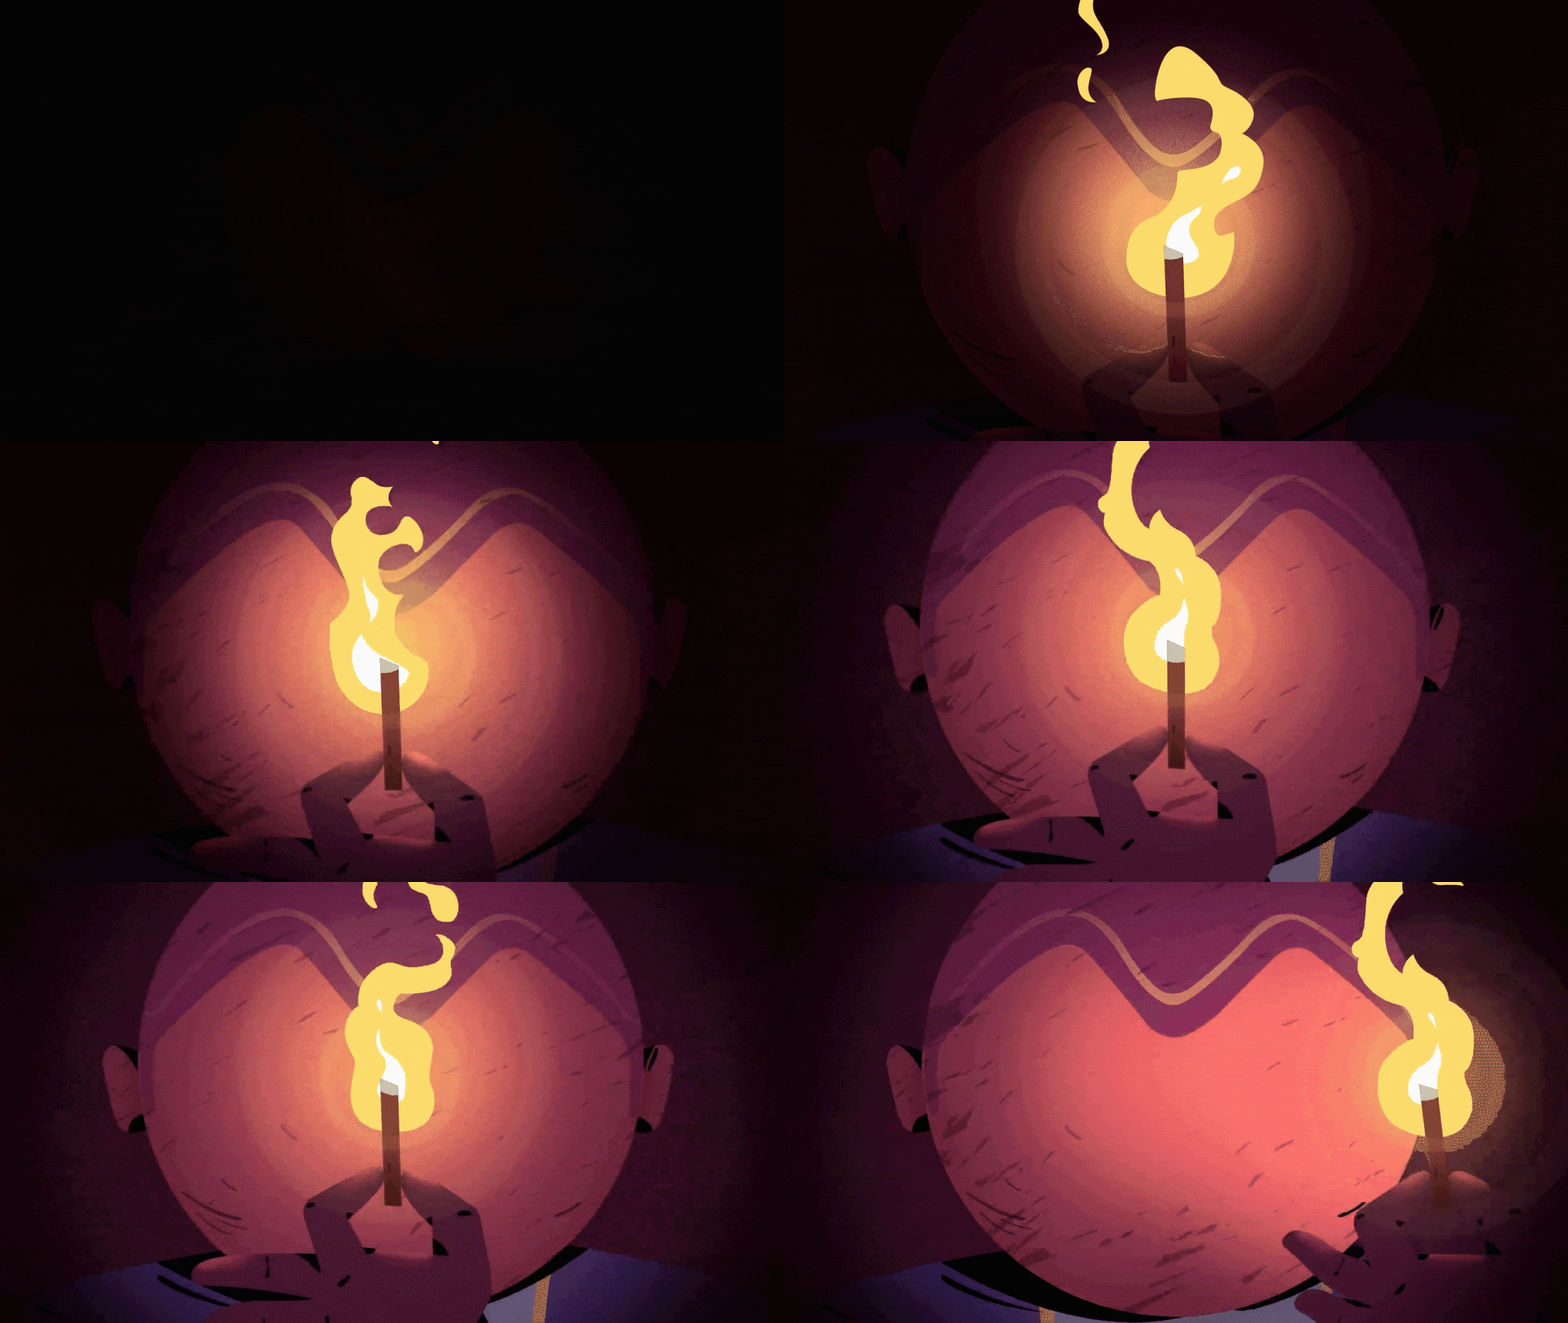
Take a look at the following examples.

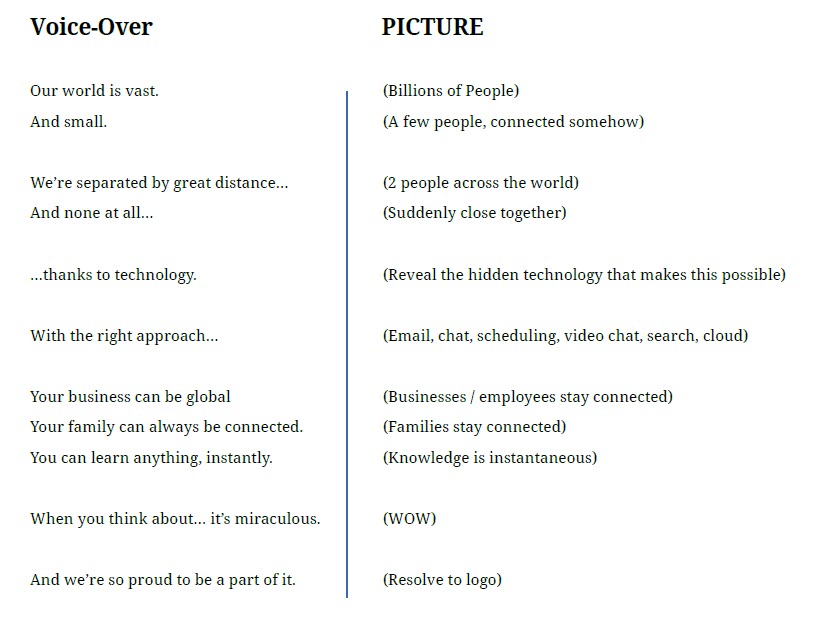
What Your Creative Brief Should Include:
A creative brief should include the pertinent information your team needs to perform their job to the best of their ability. While your brief may vary depending on your work, it will usually include the following:
- Title: Use the project name, campaign name, or other shorthand.
- Overview: Sum up the impetus for this campaign or project.
- Budget: Include a specific number or range.
- Timeline: Include a start date, end date, and any other timeline information.
- Picture: Think about what you want to see in the video.
- Personas: Detail the audience you are trying to reach. Prioritize as best you can (primary, secondary, etc).
- Success metrics (if relevant): Identify how you will measure your success.
- Key messaging: Spell it out simply. Include specific messages related to each audience (if applicable).
- Tone: Specify how you would like to communicate. Include the adjectives or feelings that might influence your approach.
- Feeling: How do you want the animation to be made? How should the viewer feel?
- Specs: Specify the distribution channel. Do you want to have it on Youtube, Instagram, Facebook, or on your landing page? specify the Width, length, orientation, etc.
- Current and recent projects (if applicable): If this project fits into a larger campaign, builds on previous efforts, or is an extension of messaging, include a brief synopsis/link.
- Additional considerations: Include any other elements that may influence the project, such as:
- Competitors: What do you know about them, and how can you act on this info?
- Important insights from past experiences: What previously succeeded or went wrong?
- References or inspiration: Include any pertinent content, resources, reading, or viewing materials. What did you like about those references?
Download our free Content Brief Template to use for your next project.

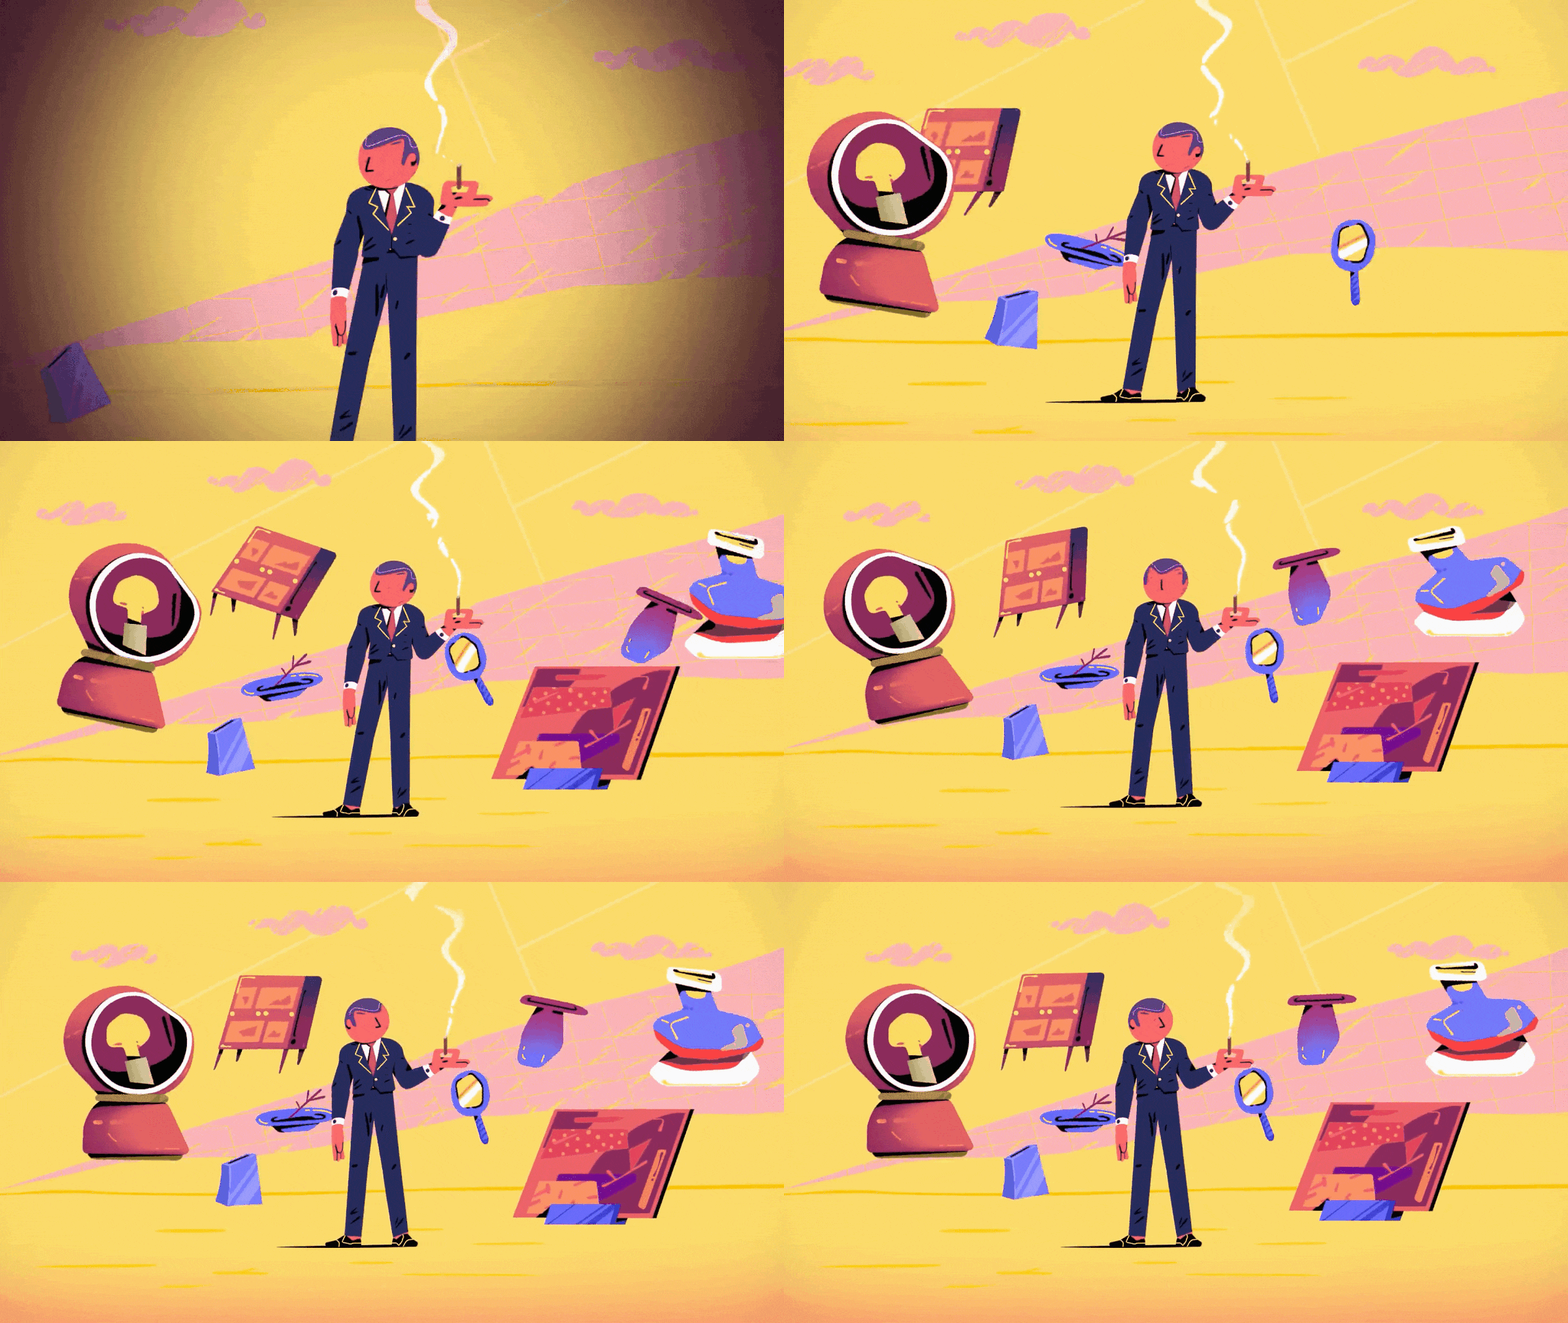
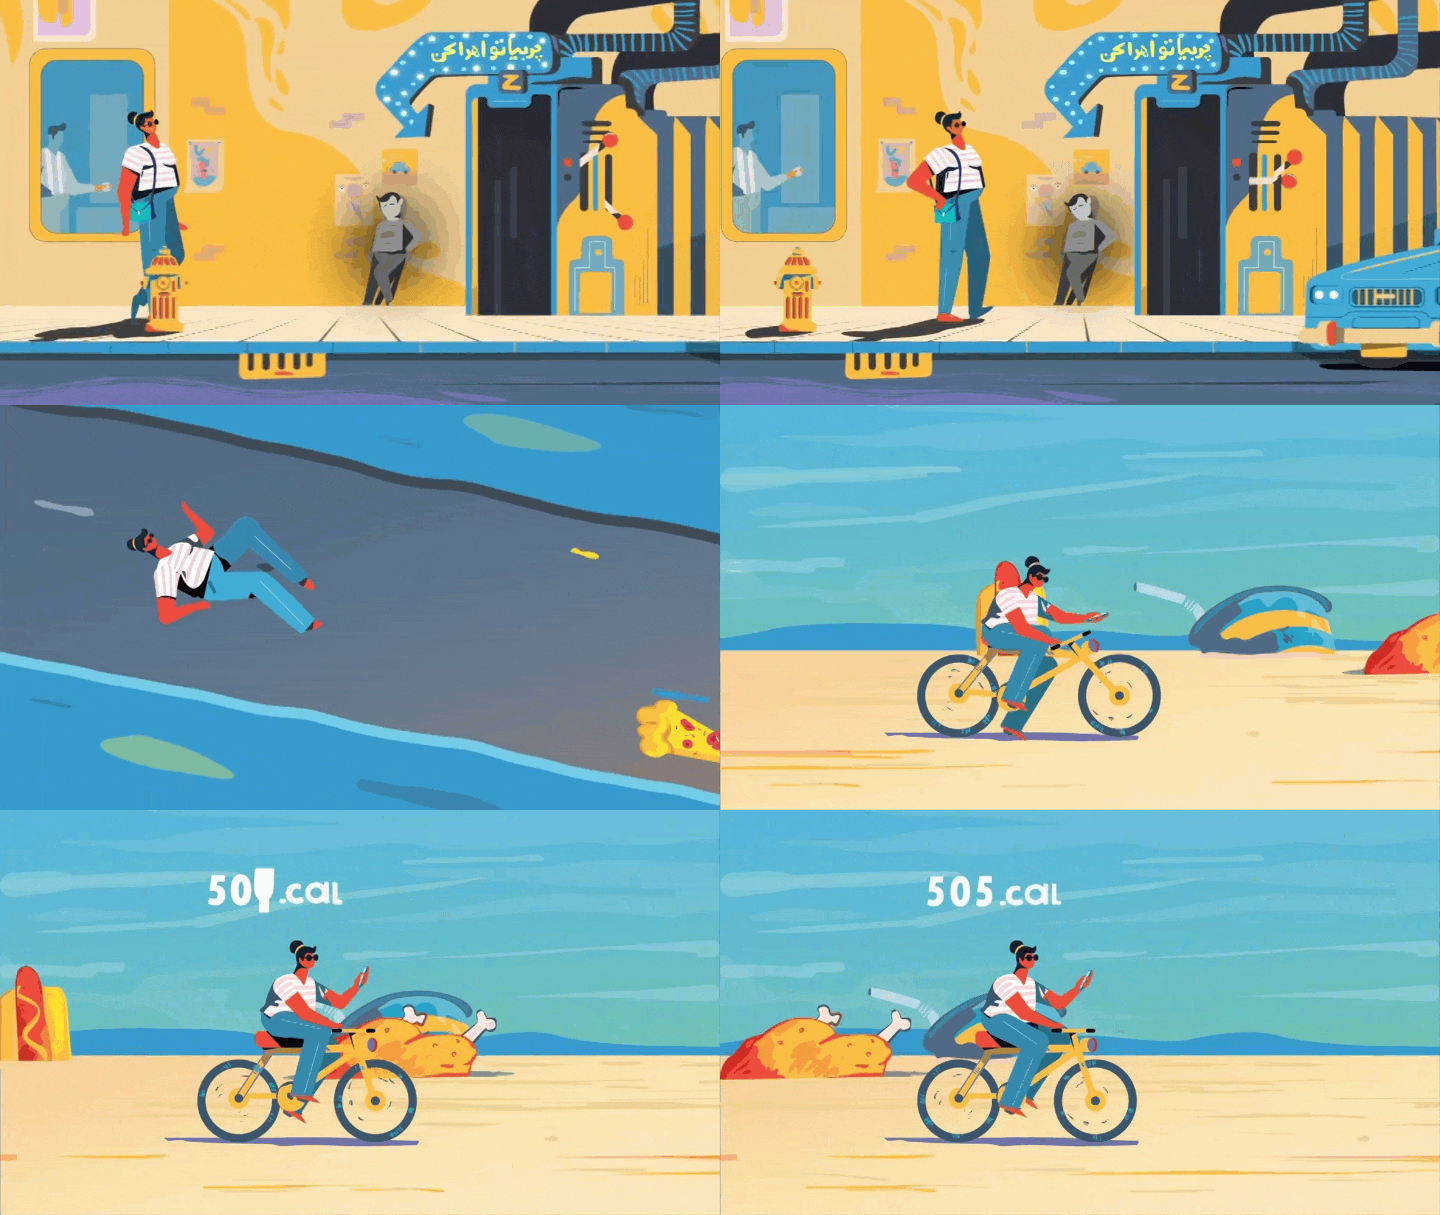
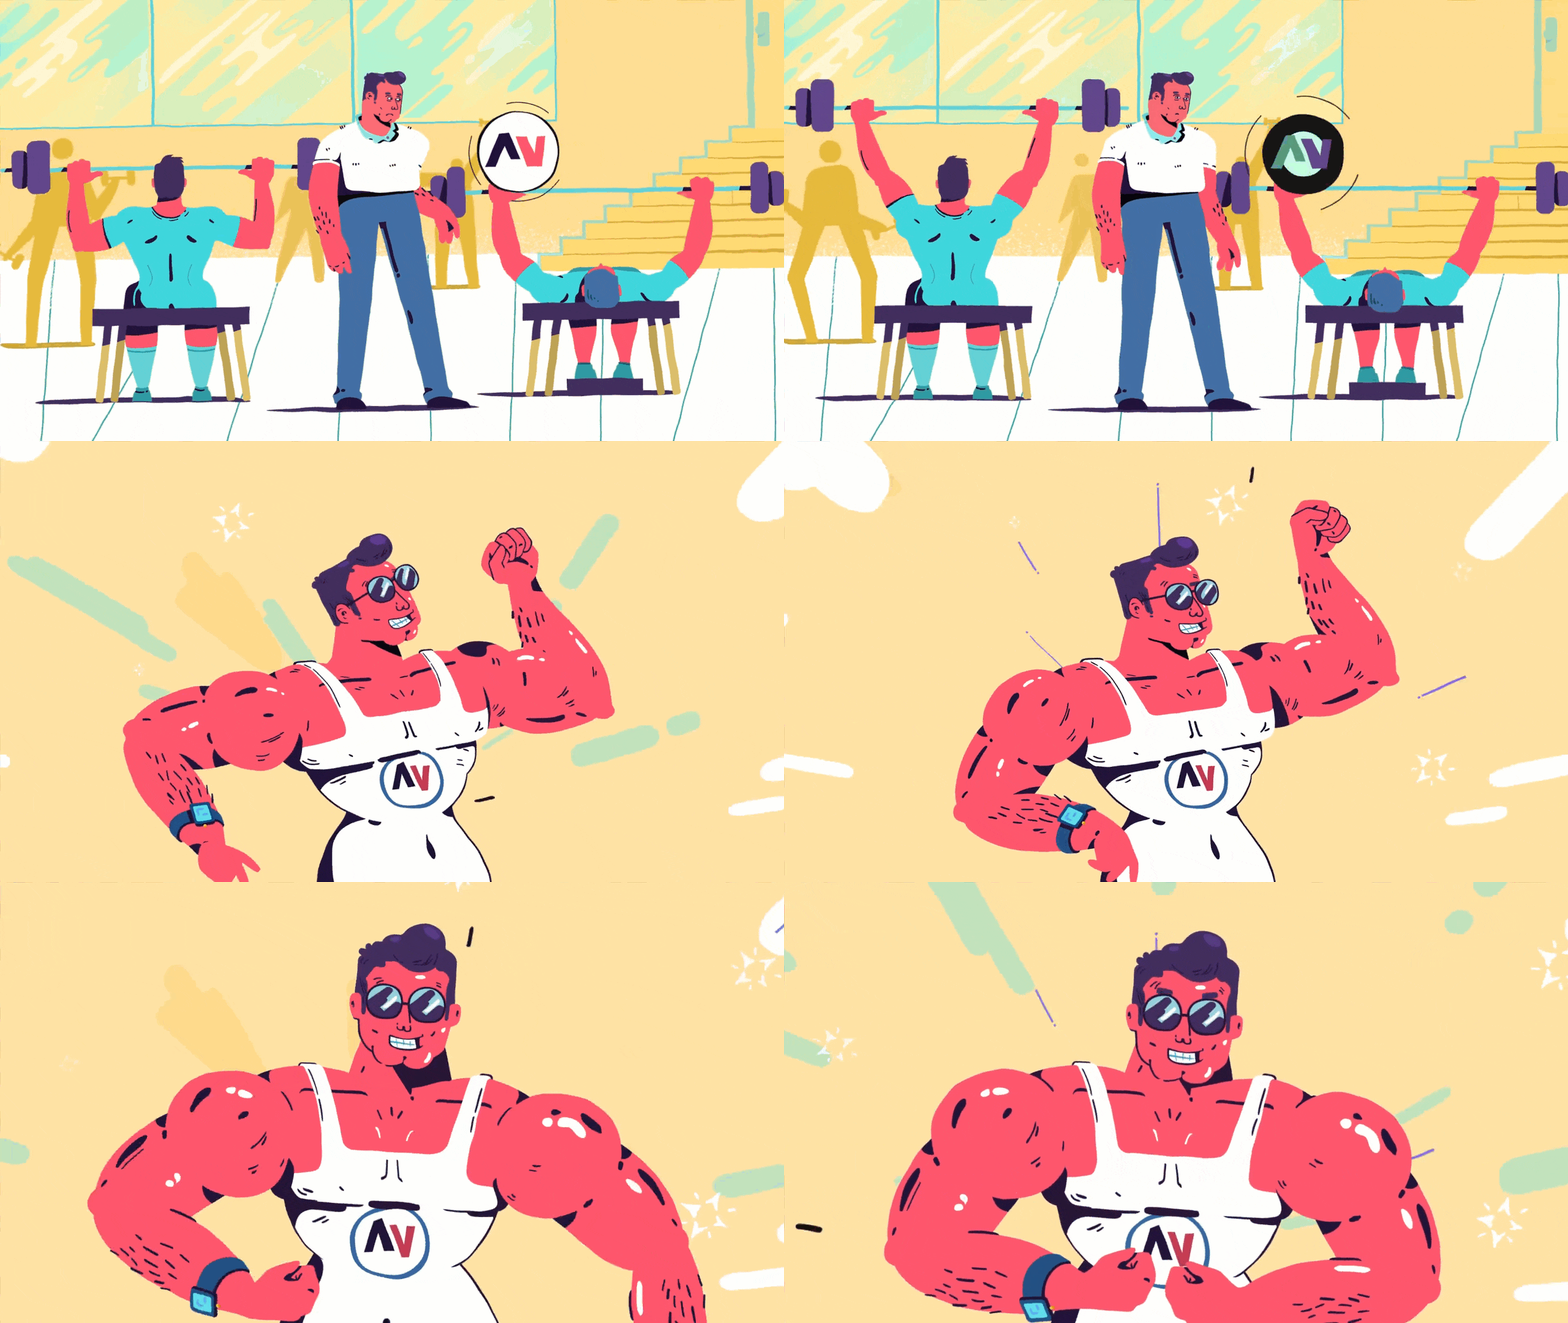
As you dive into your script, be aware of word count. It’s tempting to cram as much as possible into your script, but simplicity and clarity are key. Remember, too, that one of the advantages of motion is that it gives you multiple ways to tell your story. Unlike static infographics where you rely on visuals and copy to tell your story, motion graphics give you movement, sound, and other tools that can do some of the heavy liftings.
As you craft your script, consider which parts of your story may be best communicated through the following:
1) Kinetic (or onscreen) text: Text-only storytelling can be great for situations like trade shows where sound isn’t an option. It’s also a smart way to engage people, as they have to pay more attention when they read.
2) Voiceover: In marketing, we talk a lot about finding your brand’s voice. Voiceover is an opportunity to literally do that. VO accompanies on-screen animation, so the two work in tandem. But be wary of over-scripting. Having your voiceover artist read off your sales numbers from last year is a waste when that same information can be quickly and efficiently shown on the screen with some animated data visualization.
3) Kinetic and Voiceover: As mentioned before, voiceover and visualization combined work well for data visualizations, explainer videos, or any time you need to clarify or label something onscreen.
4) Visuals-only: While not as commonly used, you can still create a compelling graphic with no text. (Again, think tradeshows.)
Make sure to get script approval from any relevant stakeholders before you head into the design. (Trust us: There’s nothing more irritating than having to go back to square one once you’re already in the storyboard phase.)
Step 2: Storyboard While You Brainstorm the Visual Treatment
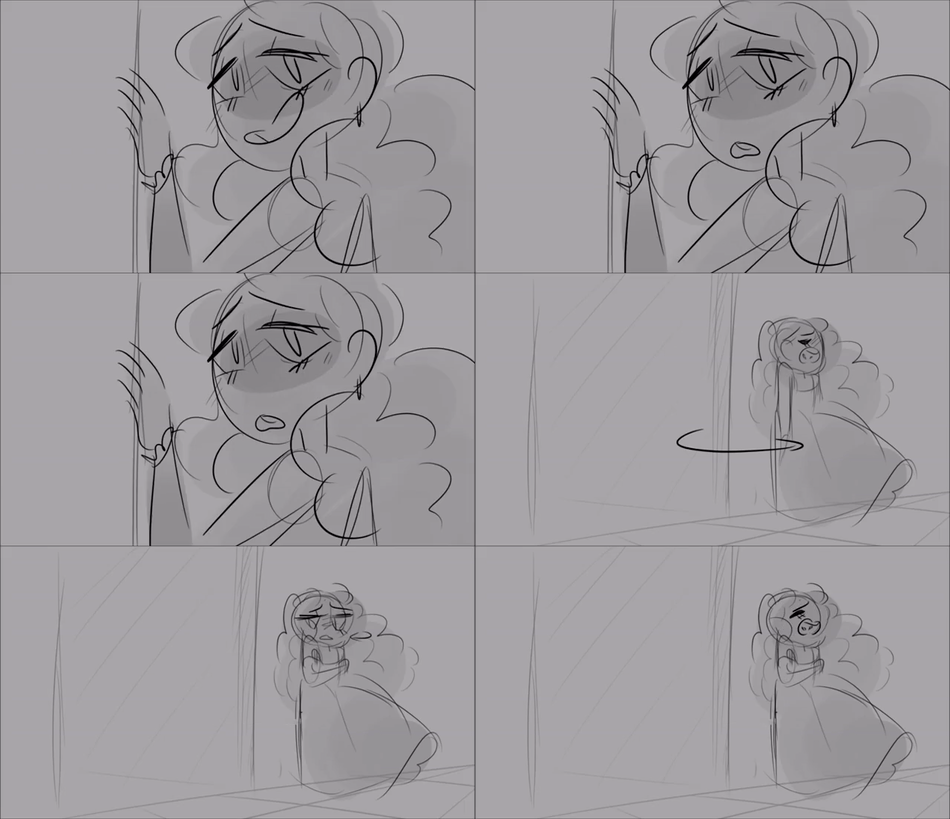
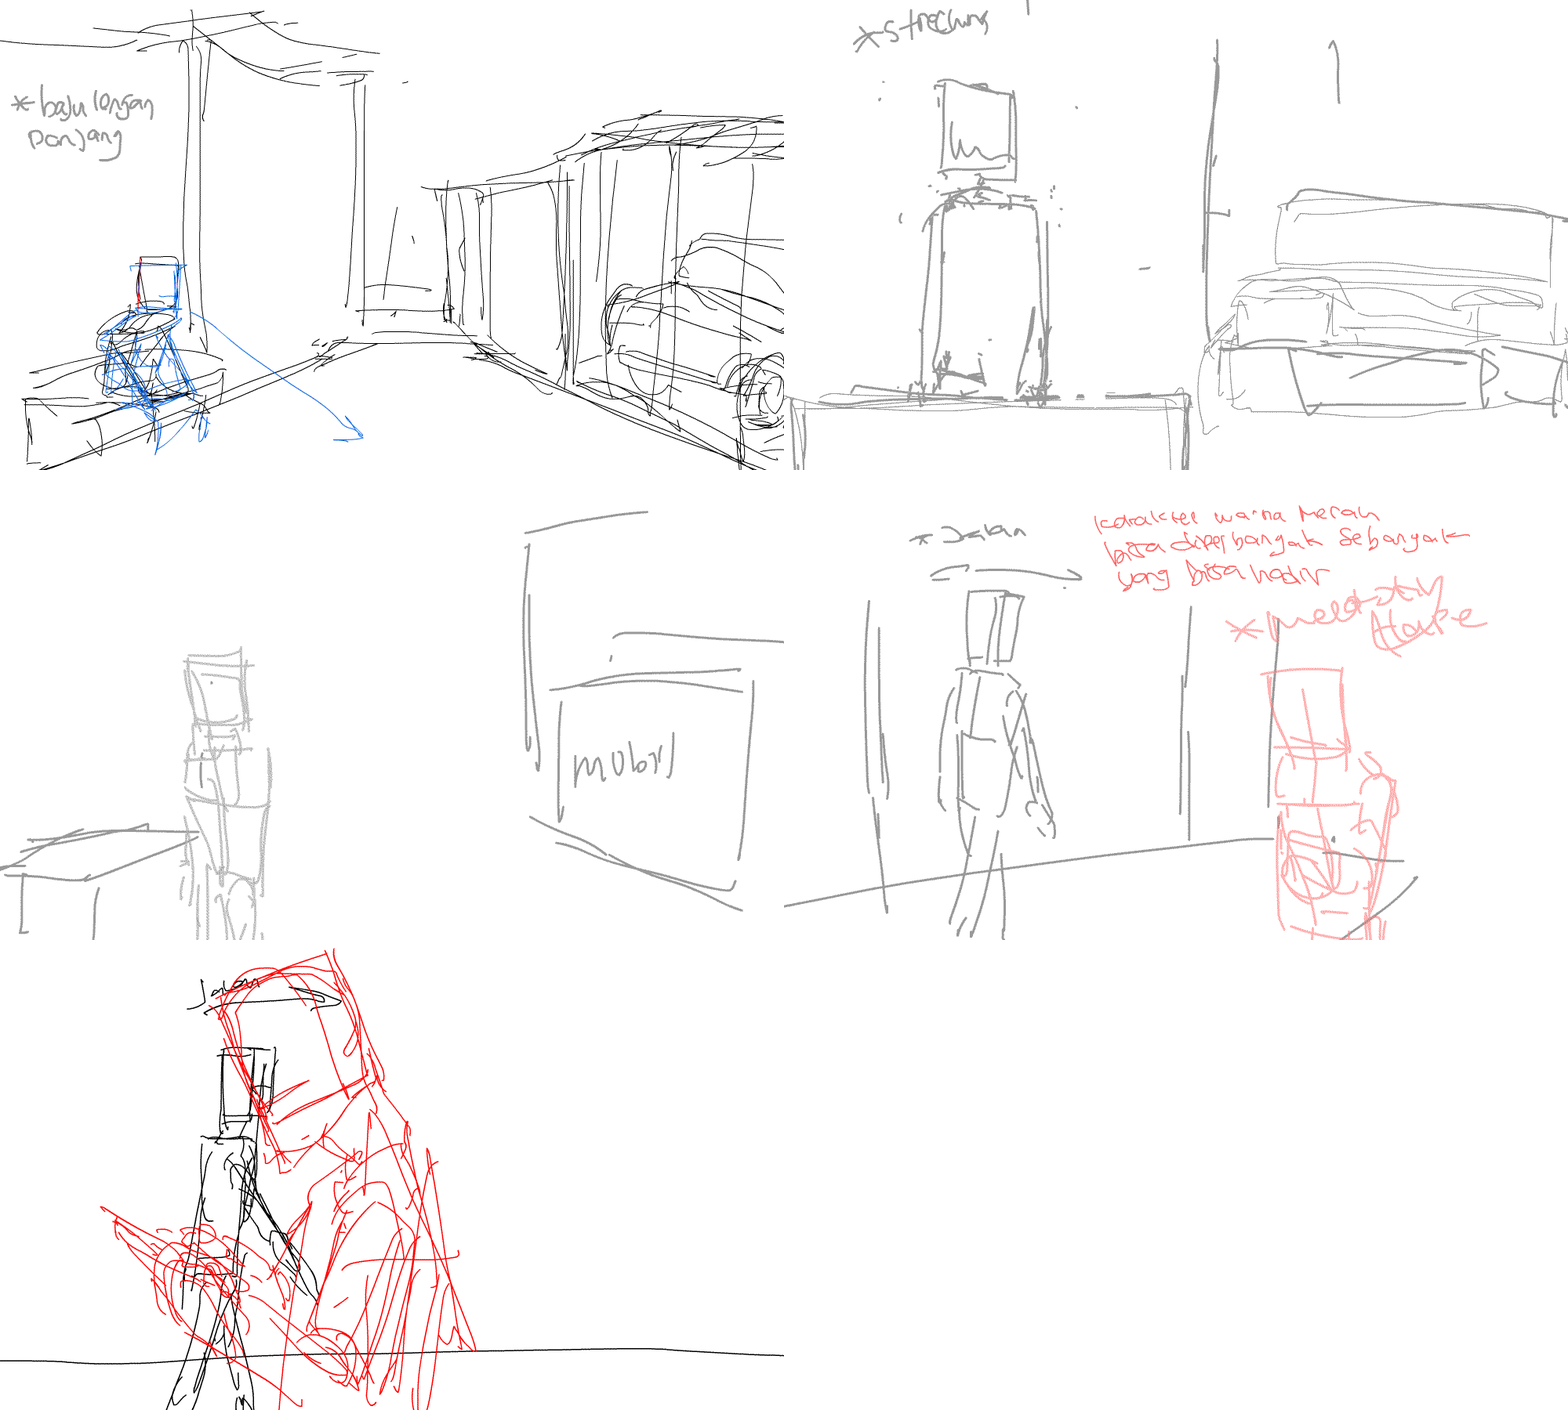
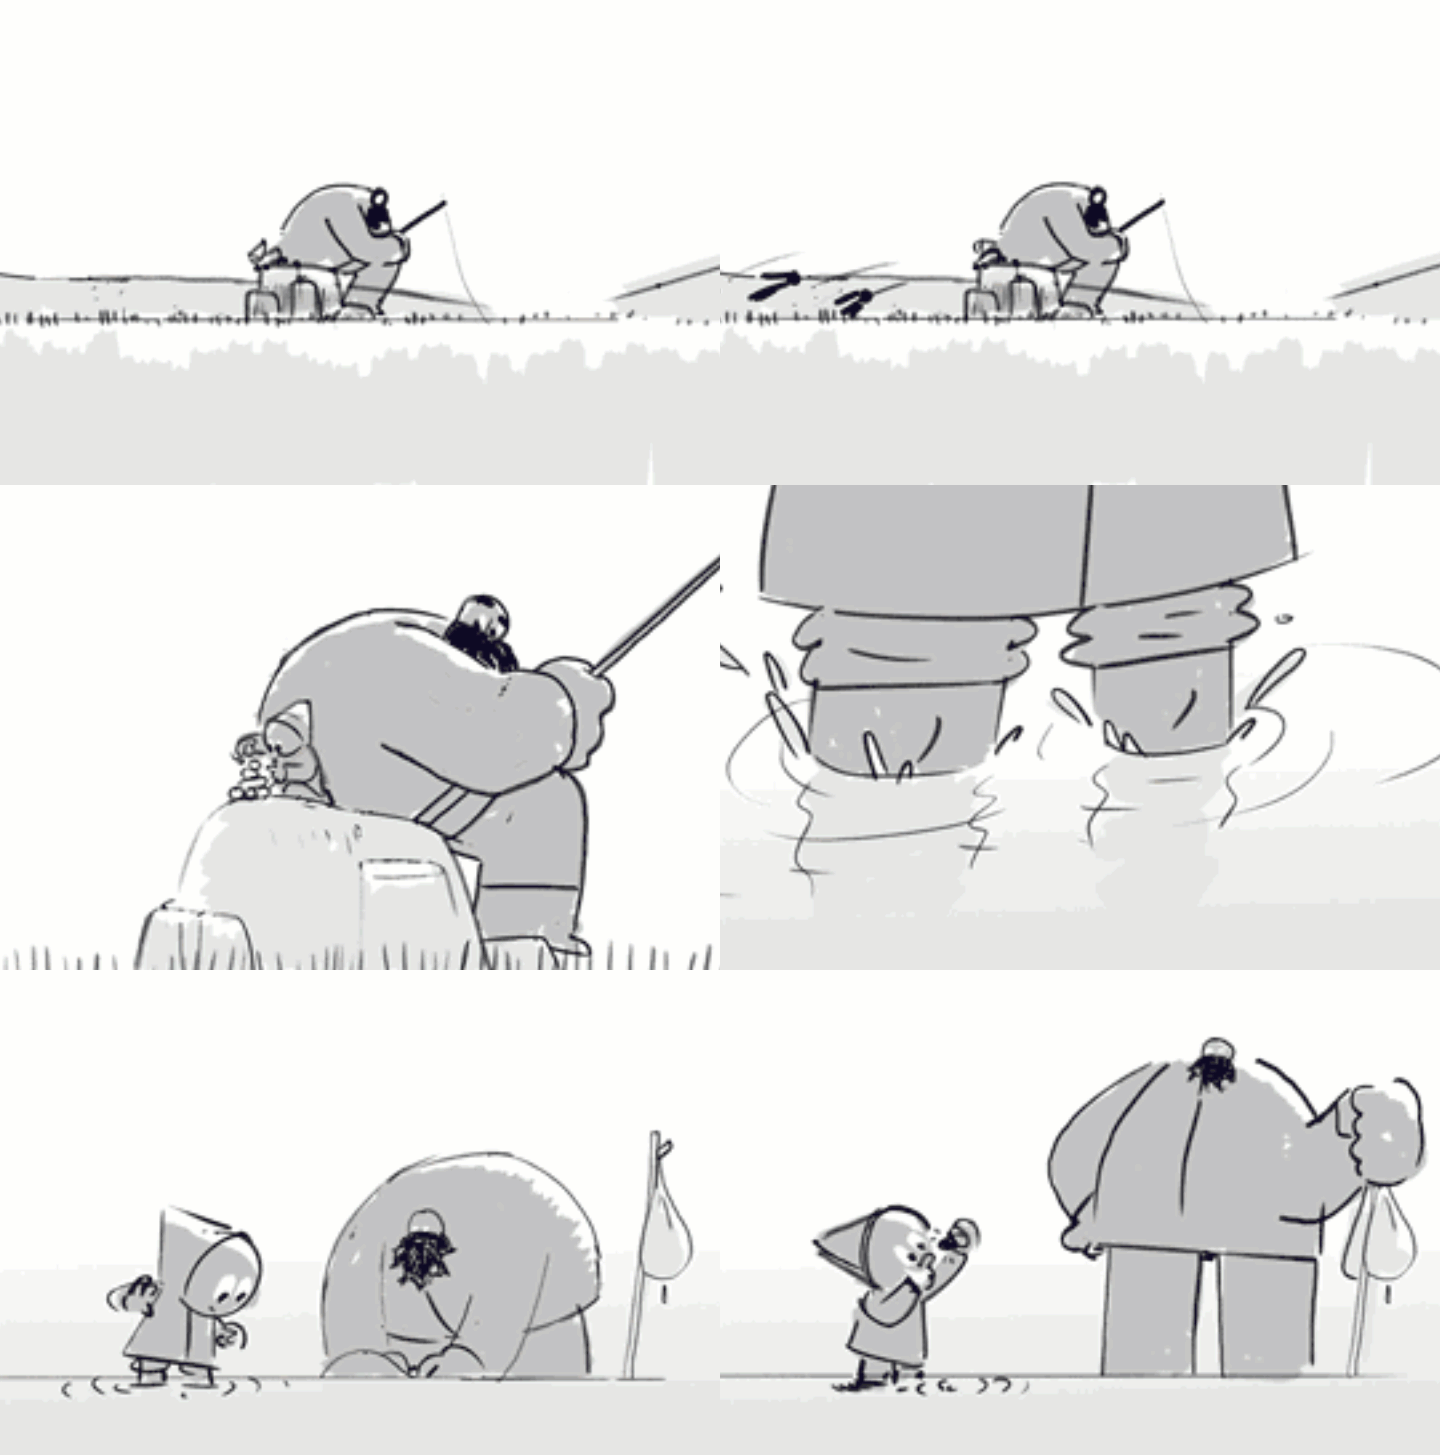
Once you have your script, you can start to visualize it during the storyboard phase. This is when you bring together the script and visuals and start to see the final product take shape.
Start your storyboarding sessions by brainstorming with members of your design and production team. For us, that includes the scriptwriter, producer, and storyboard sketch artist (aka designer) together. (You may also include your creative director.)
During this stage, you’ll want to draw out frames on a whiteboard and review the final script together before you get started. Then you can start sketching ideas to bring the script to life.
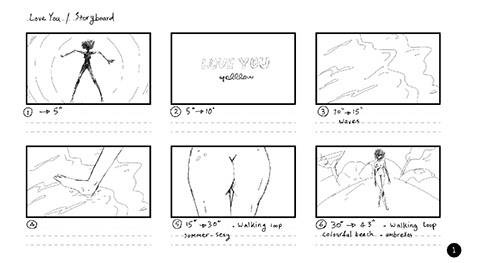
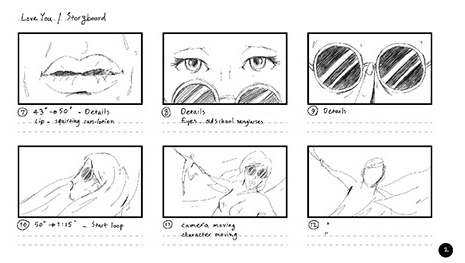
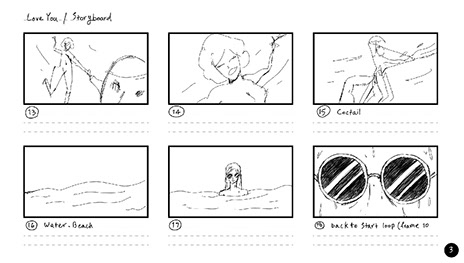
Step 3: Prepare the voice-over, music, and sound effects
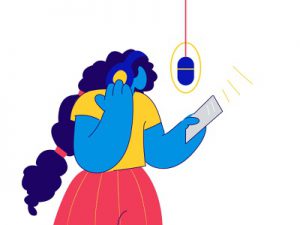
At this stage, you must prepare your voice-over before jumping into the animatic stage. At this stage, you do not need to use a professional voice-over. You can record your own voice while reading the text normally and fluently. According to the voice-over that you have prepared, find and buy a suitable music soundtrack, and then try to find sound effects for the animatic you want to create.
Step 4: Creating an Animatic
What Is an Animatic?
An animatic is an animated storyboard—a slideshow of images depicting movement. To create an animatic, storyboard images are cut together to make a rough draft animation, usually with sound effects or music, giving the motion graphic designer and client an idea of what the final animation or live-action sequence will look like. Animatics often contain character and camera movements, as well as transitions.
What Is the Purpose of an Animatic?
An animatic is a pre-production tool used to convey timing and show how a story sequence will play out with music, sound effects, or dialogue. This animated series of images bring the storyboard to life in video format, helping motion designers get a better visual of their scenes’ pacing, revealing any timing changes or adjustments that are needed.
Making films, especially animated movies, is a time-consuming process, and animatics can help cut down on how long it takes to reach a polished, final product. Animatics are primarily used in the making of animated films, though live-action filmmakers also use the tool to map out complex scenes.
How to Make an Animatic
Animatics turn storyboard pictures into moving images. To create your own animatic:
- Upload your storyboard. To begin the process of making your own animatic, you’ll need to upload your storyboards into video-editing software.
- Create a timeline. Next, you’ll need to establish the length of each animatic as it corresponds to your motion graphic. If your motion graphic is 60 seconds long, you can use the animatics to plot out the timing of each scene so you don’t go over the desired length of your motion graphic when designing begins.
- Add sound. Adding dialogue and sound into your animatics will help you better visualize your scenes, edit out unnecessary beats, and create better timing and pace for your motion graphic before it even enters production.
- Highlight character movement. Animatics are not the smooth, rendered animation sequences you see on television or in theaters—they are derived from storyboard images, quickly produced, and often choppy with low resolution. You’ll need to add arrows to your animatic to show the character’s on-screen movement.
- Highlight camera movement. Animatics can also show how the camera moves during a scene. Add arrows to your animatic to indicate specific directorial shots, like dolly movements or transitional effects, to give a more detailed idea of how the finished product will play out.
Step 5: Take Your Storyboards into Design
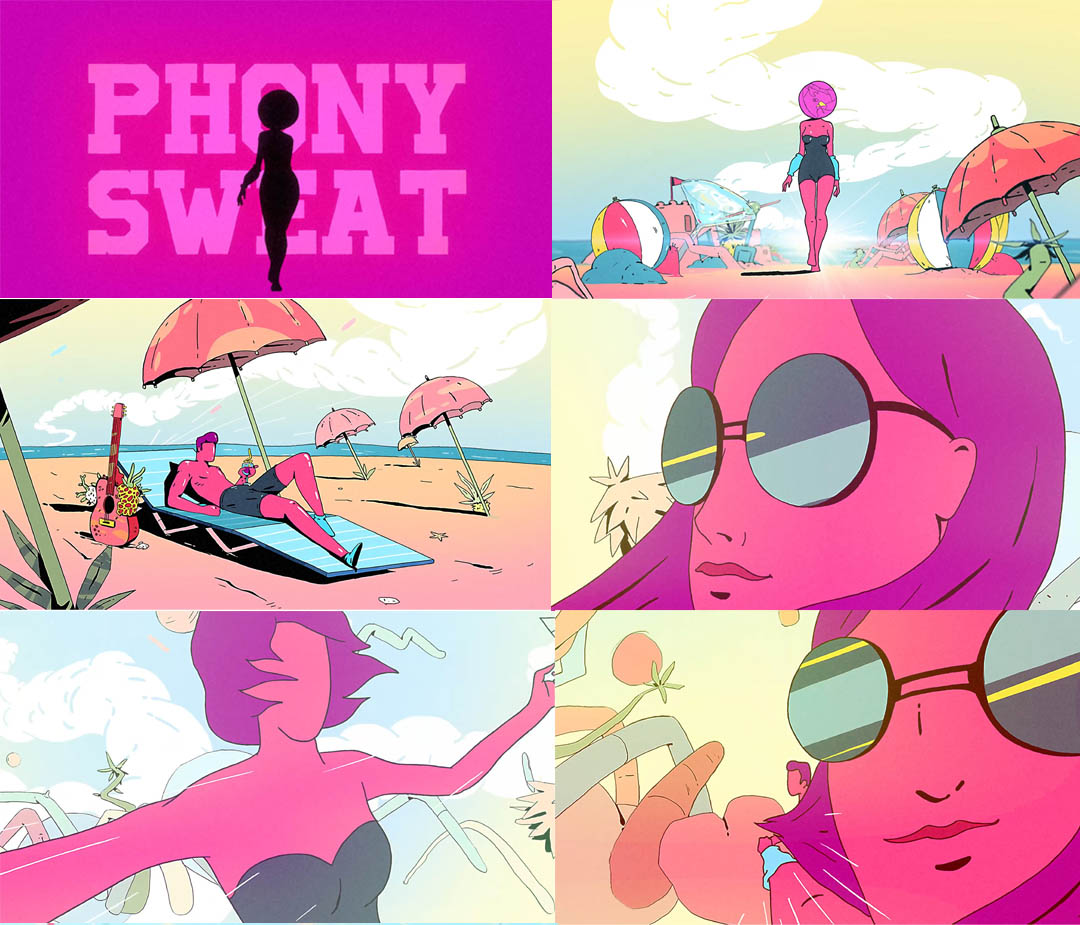
As with any visual project you create, style and color communicate just as much as the story itself. Even when you’re working with your own brand guidelines, simple design choices can greatly impact the experience.
Once you have an idea of the storyboard with sketches, you can begin translating your storyboards into actual designs. Note: Everything at this stage is used in the final animation stages, so take time to get the details right. It also helps if the person who sketched the storyboards also handles the design.
During this stage, write out your visual notes and have your production team (and any other stakeholders) review them before passing them along to the animation team for use in the final cut.
Step 6: Animate the Final Designs and render
The animation phase is when everything comes together. If you’ve done your job and gotten sign-off on each stage, by the time you start animating, everyone should have a really good idea of what’s to come.
Some things to think about:
- Animation style: This isn’t just about fading in and out of scenes; how you transition from one point to the next influences how cohesive the story is. Wiping away a scene communicates finality, whereas moving from point A to point B keeps the story moving. Remember: You don’t want to confuse or jar your audience.
- Timing: Pacing can make or break your motion graphic. Too rushed and people won’t “get” what you want to tell them. Too slow and you’ll lose people’s attention. Pace keeps people interested. Consider strategic variations to add excitement.
- Music: Like with all the other elements, music is another layer to drive your narrative. It can set the mood, fill gaps, and affect the tone of the story.
- Sound effects: This can be hit or miss depending on who you’re working with. Some animators believe that you should let the other elements speak for themselves. Others think they’re a necessity. The key is to only use what adds value to your project and doesn’t distract from the story you’re trying to tell. (That goes for everything we’ve discussed here.)
If you’ve done your job well, you should have a final result you’re proud of—and have learned a few things along the way. Now it is time to render the final animation and upload it to your dropbox and send it to your client. We also hope you’ll have the confidence to try creating more advanced motion graphics, such as 360-degree storytelling. If you do, feel free to share it with us.
Until then, keep learning and practicing. And if you have any more questions, we’re always happy to have a chat.
